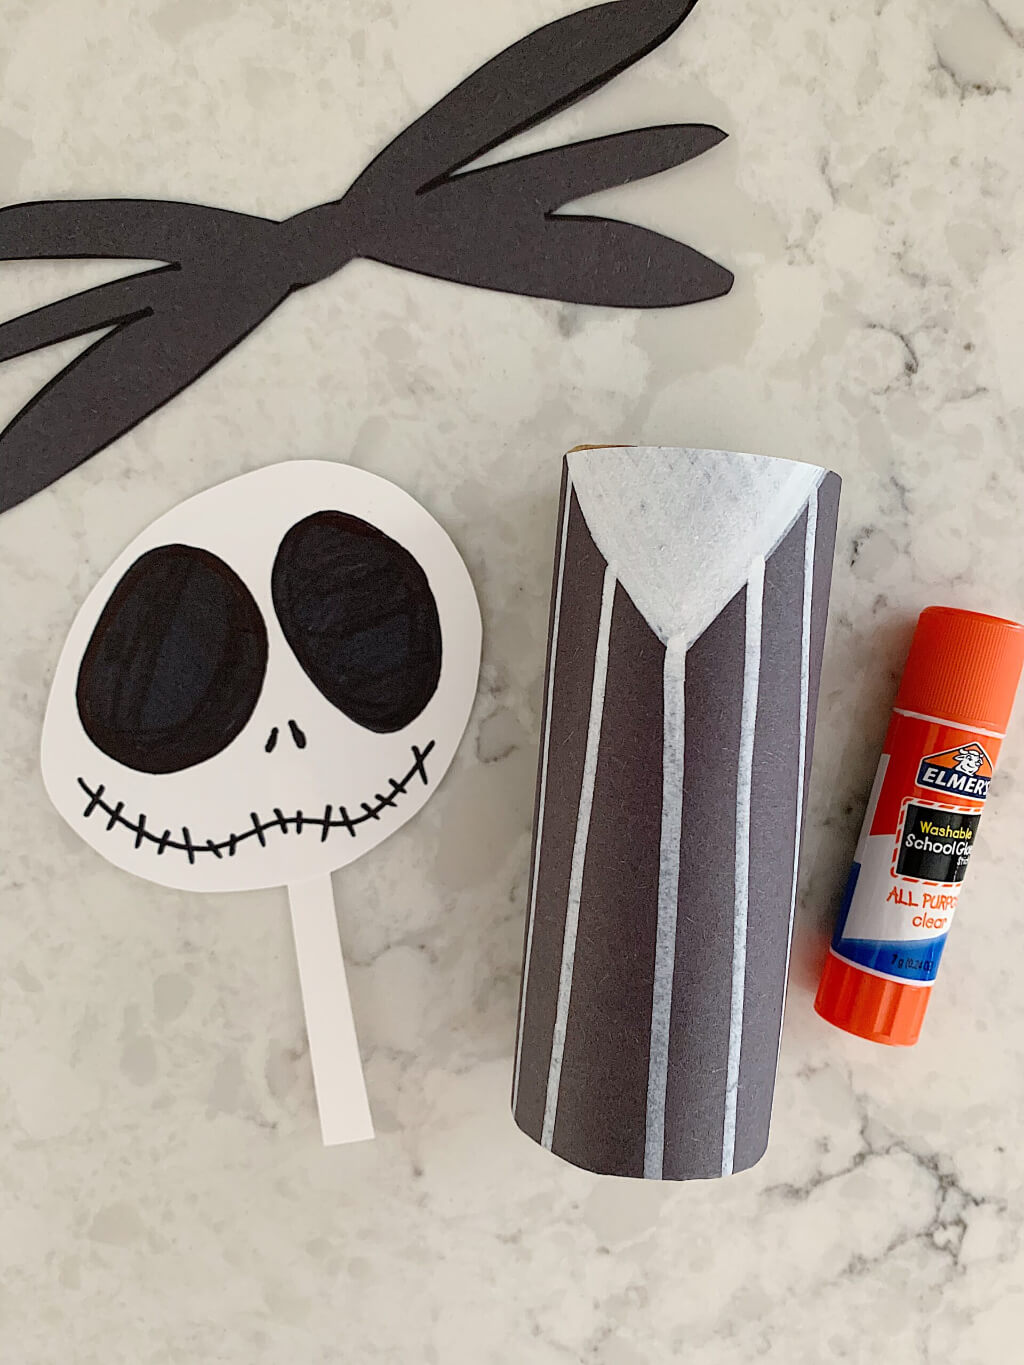
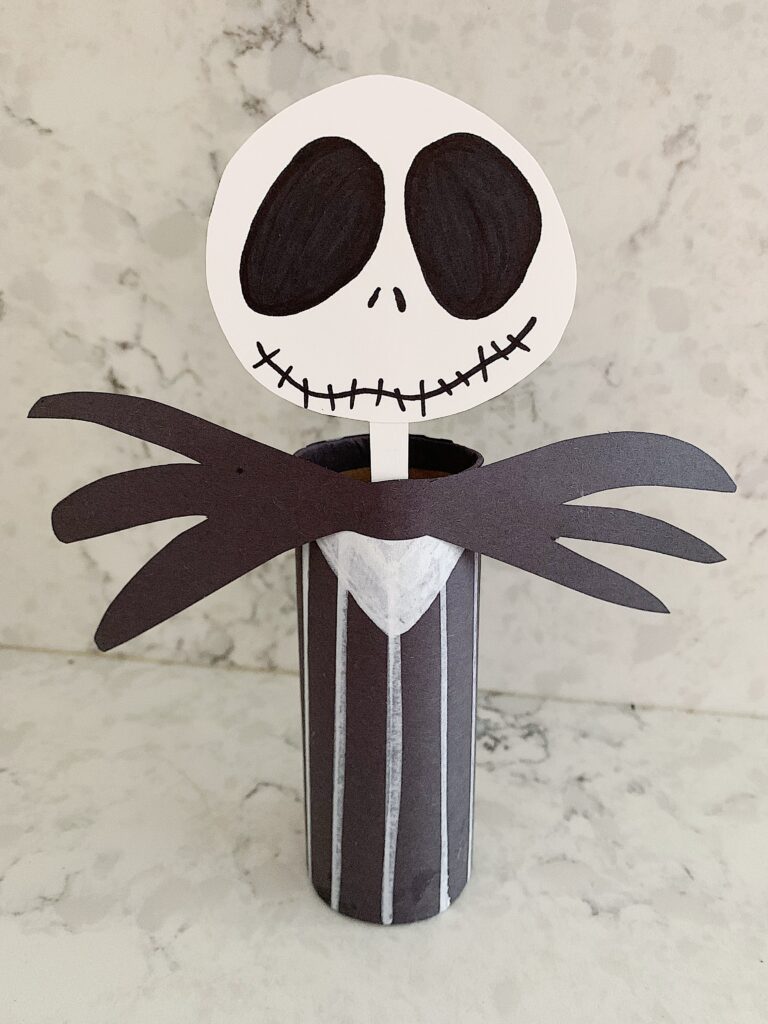
This Jack Skellington toilet paper roll craft is one of the easiest Halloween crafts for kids and it doubles as a cute little decoration when you’re done. All you need is an empty toilet paper roll, some paper, glue, and a marker, plus the free printable template below for Jack’s face and bow tie. This post explains how to make those on your own, but if you prefer to use a template, which is especially easier for younger kids, then that is now included.
It takes about 15-30 minutes, works for toddlers with a little help and older kids on their own, and pairs perfectly with a Nightmare Before Christmas movie night. While the glue dries, hand them a few of these free Halloween coloring pages to keep the fun going.

What You Need
- Empty toilet paper roll
- White cardstock (or any white paper – cardstock just makes it stronger)
- Black construction paper
- Glue
- Scissors
- Black marker
- White paint pen/marker**
- Jack template (if using)
*Paint Marker Alternatives
For the stripes on Jack’s jacket, I used a white acrylic paint marker because I already had that on hand. If you don’t have a paint pen, you can also use a white colored pencil, a white crayon or you can paint white lines on with a brush and paint.

Instructions
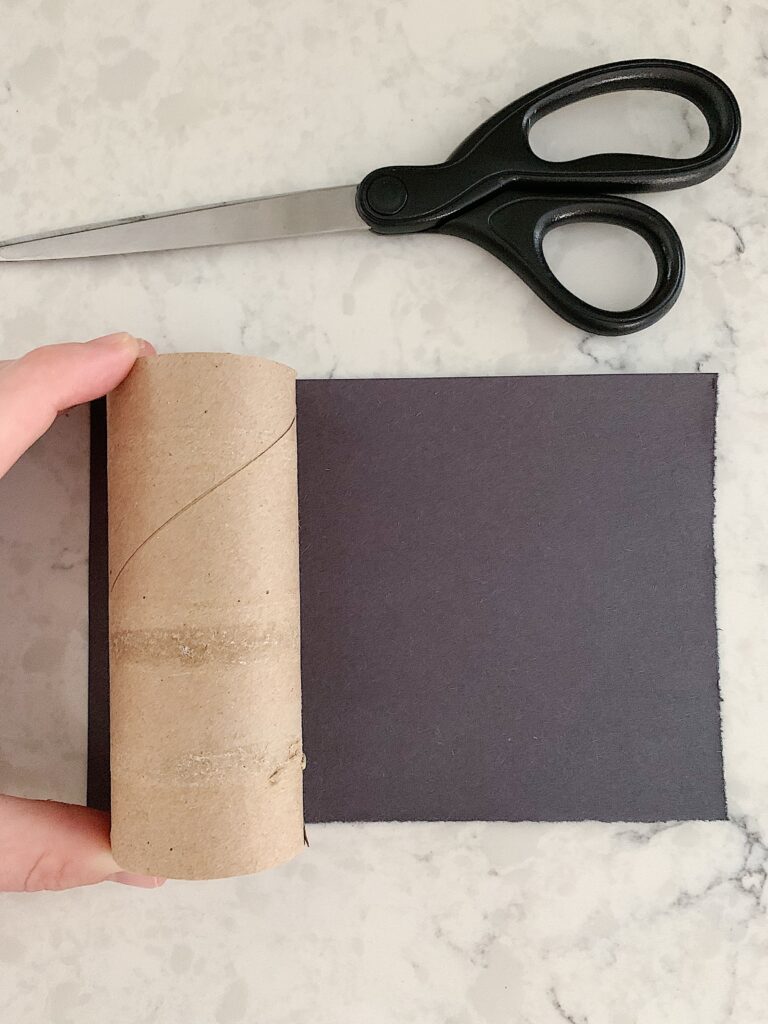
1. Line up the toilet paper roll with the bottom of a black sheet of construction paper. Wrap the paper around the roll and make a line with the marker, so you know where you need to cut. Cut off the excess. You want to end up with a piece of black construction paper that completely wraps around the toilet paper roll, approximately 6 1/2 inches long and 4 3/4 inch tall.
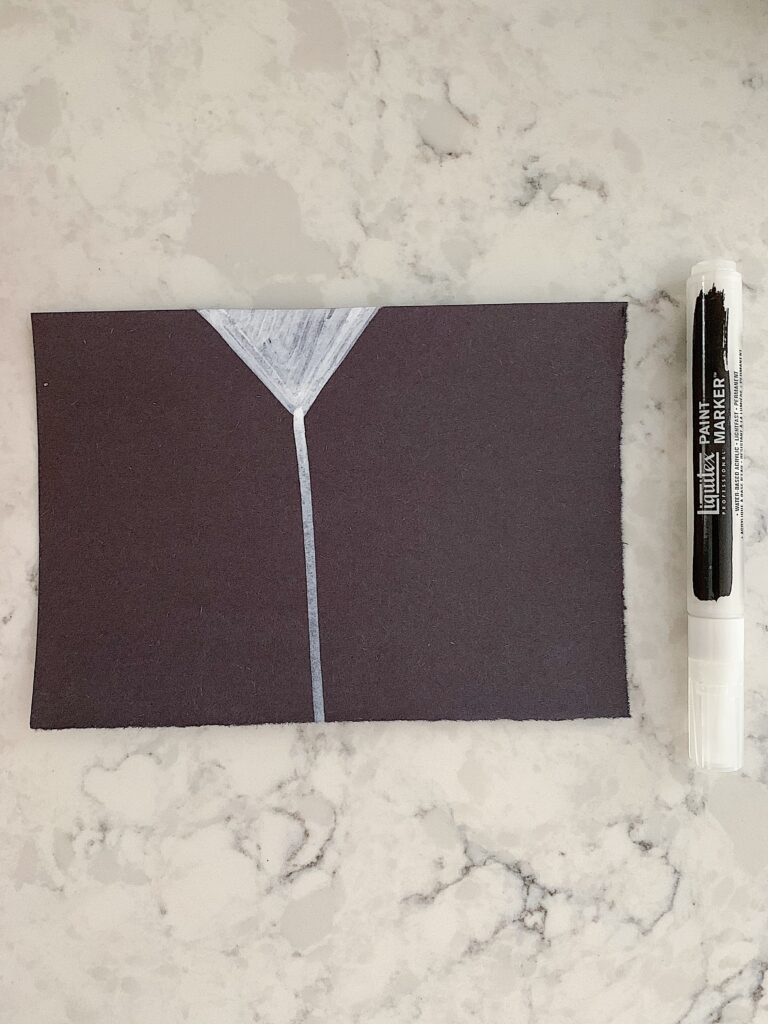
2. Lay the black paper flat on the table. In the top middle, draw an upside down triangle with your paint pen. Then, draw a line going straight to the bottom from the point of the triangle. Draw evenly spaced out lines all the way around the paper.

3. Glue the paper to the toilet paper roll by covering the back of the black paper with glue, and then slowly gluing it down as you wrap it around the roll.
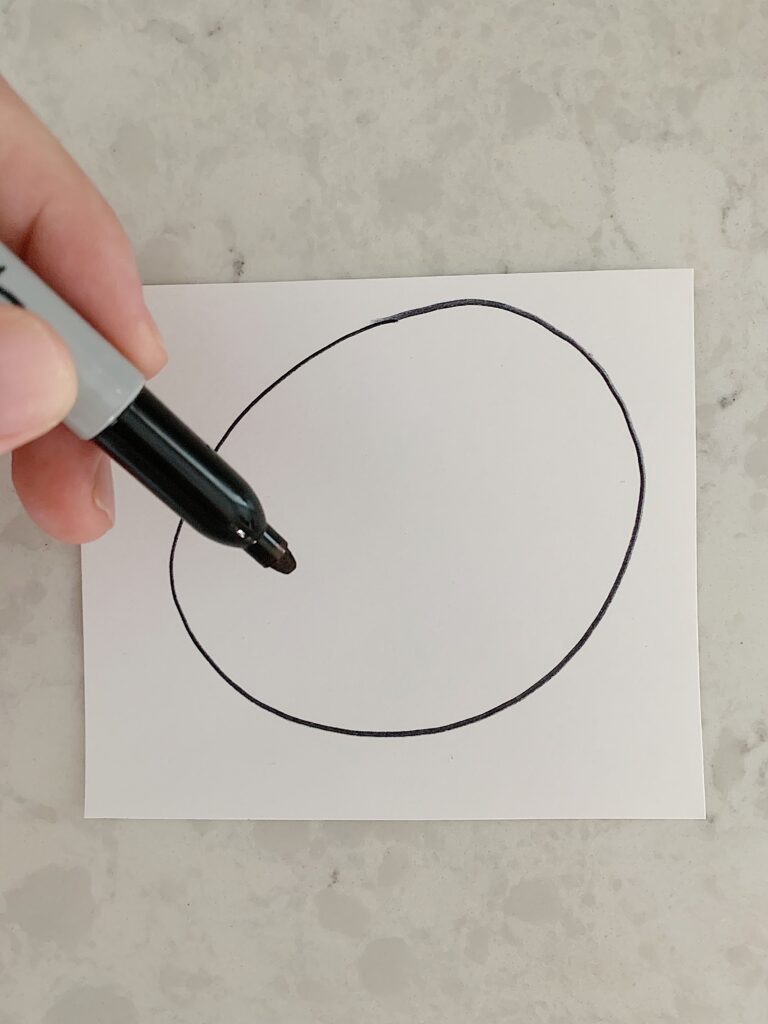
4. Now it’s time to make Jack’s head, face and bow tie. You can use the template I made or make them yourself. To make them yourself, first take the white cardstock and draw an uneven circle. (This will be Jack’s head).
5. Using your black marker, draw Jack’s eyes and mouth. (You could also cut out two circles from your leftover black paper too.)

6. Next, cut a very small, rectangular strip of the cardstock for Jack’s neck.
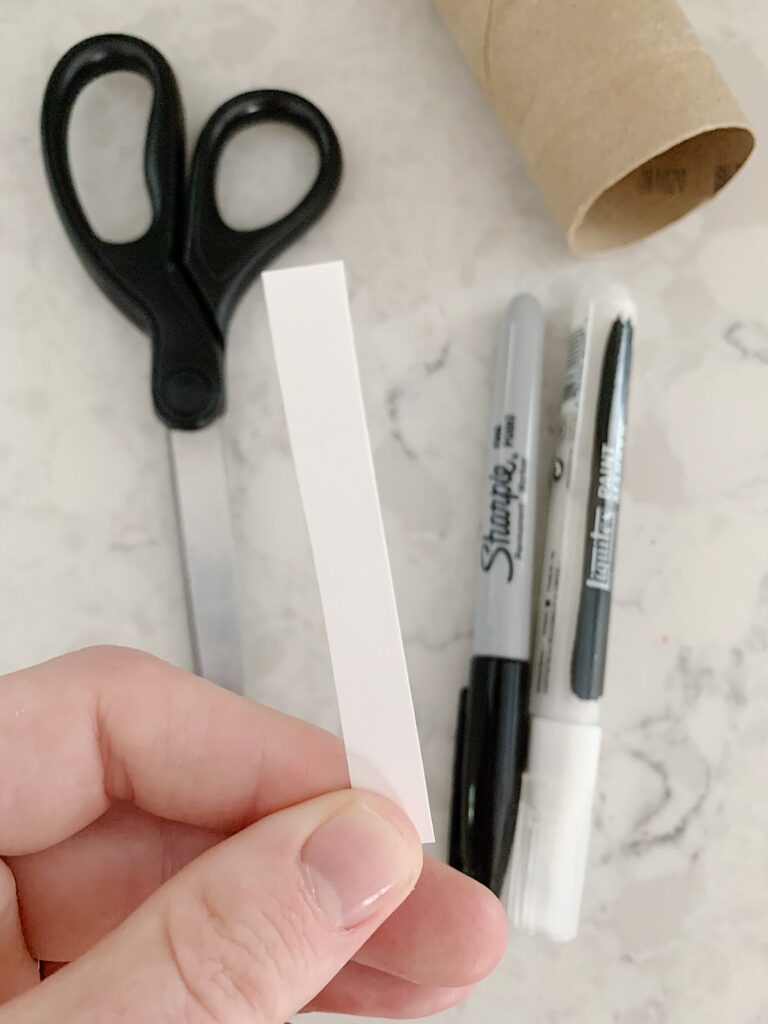
7. Glue the top of the neck to Jack’s head and the bottom of the neck to the inside of the toilet paper roll, right behind the white triangle.
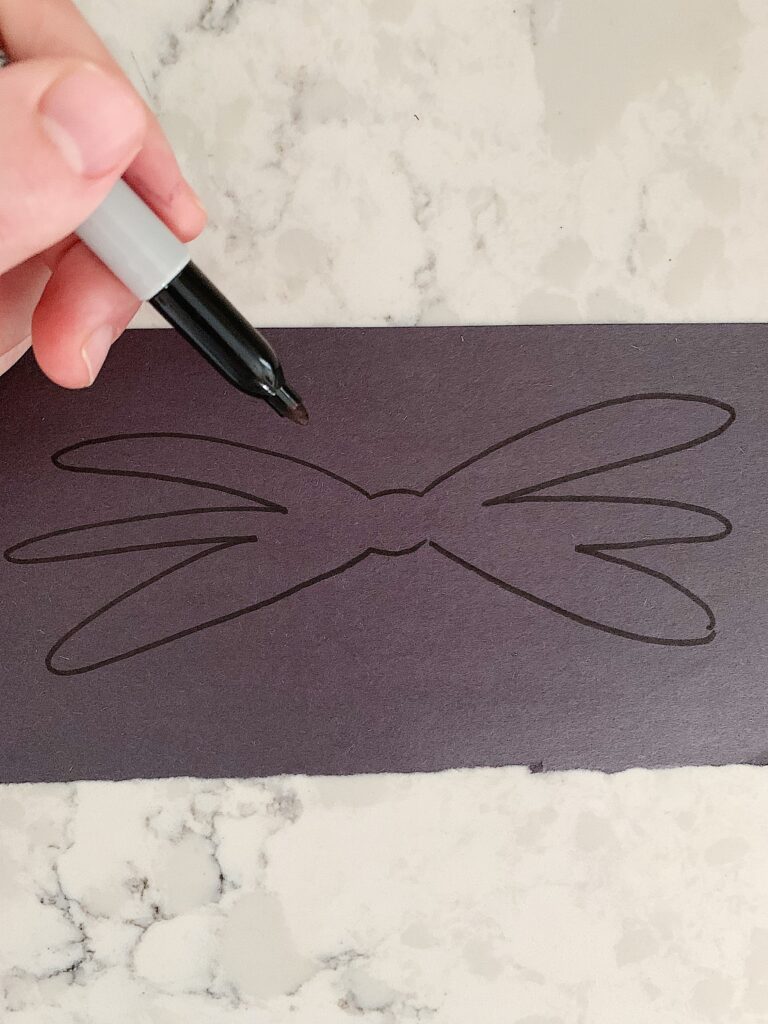
8. On a leftover piece of your black construction paper, draw Jack’s bowtie. Glue the bowtie on and your Jack is complete!

FAQs
Toddlers and preschoolers can do this one with help on the cutting and gluing. Kids around 6 and up can usually handle the whole thing on their own, especially with the printable template. Adults can even enjoy this craft and make the head and bowtie on their own for more of a challenge.
Yes. Just cut it down to about 4 inches so Jack isn’t too tall and tippy. One paper towel roll makes two Jacks.
Regular white printer paper works, it’s just a little floppier but you could glue a toothpick to the back to keep it standing.
Absolutely. Jack’s face is just two oval eyes and a stitched smile, so you can draw it freehand with a black marker like I did on mine (the one in the photos). The template mostly saves time and keeps the craft easier for younger kids.
More Halloween Crafts and Activities for Kids
If this one was a hit, here are a few more easy Halloween projects to keep the kids busy all month:
- 20 Free Halloween Coloring Pages for Kids – print and go, no supplies needed
- 8 Easy Halloween Activities for Kids – low-prep and budget-friendly
- 20+ Cute and Easy Fall Crafts for Kids – for when Halloween is over but fall isn’t
- 35+ Fun Indoor Activities for Kids – rainy day backup plan


