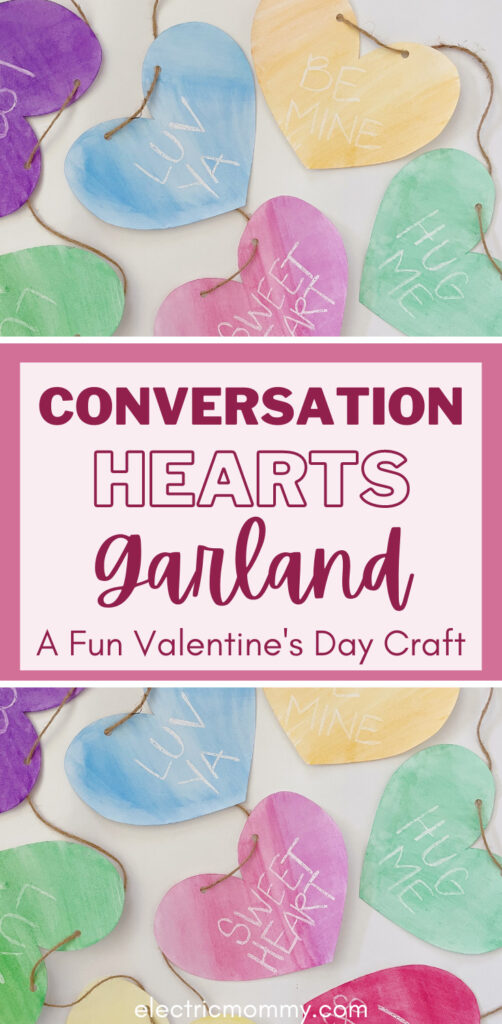
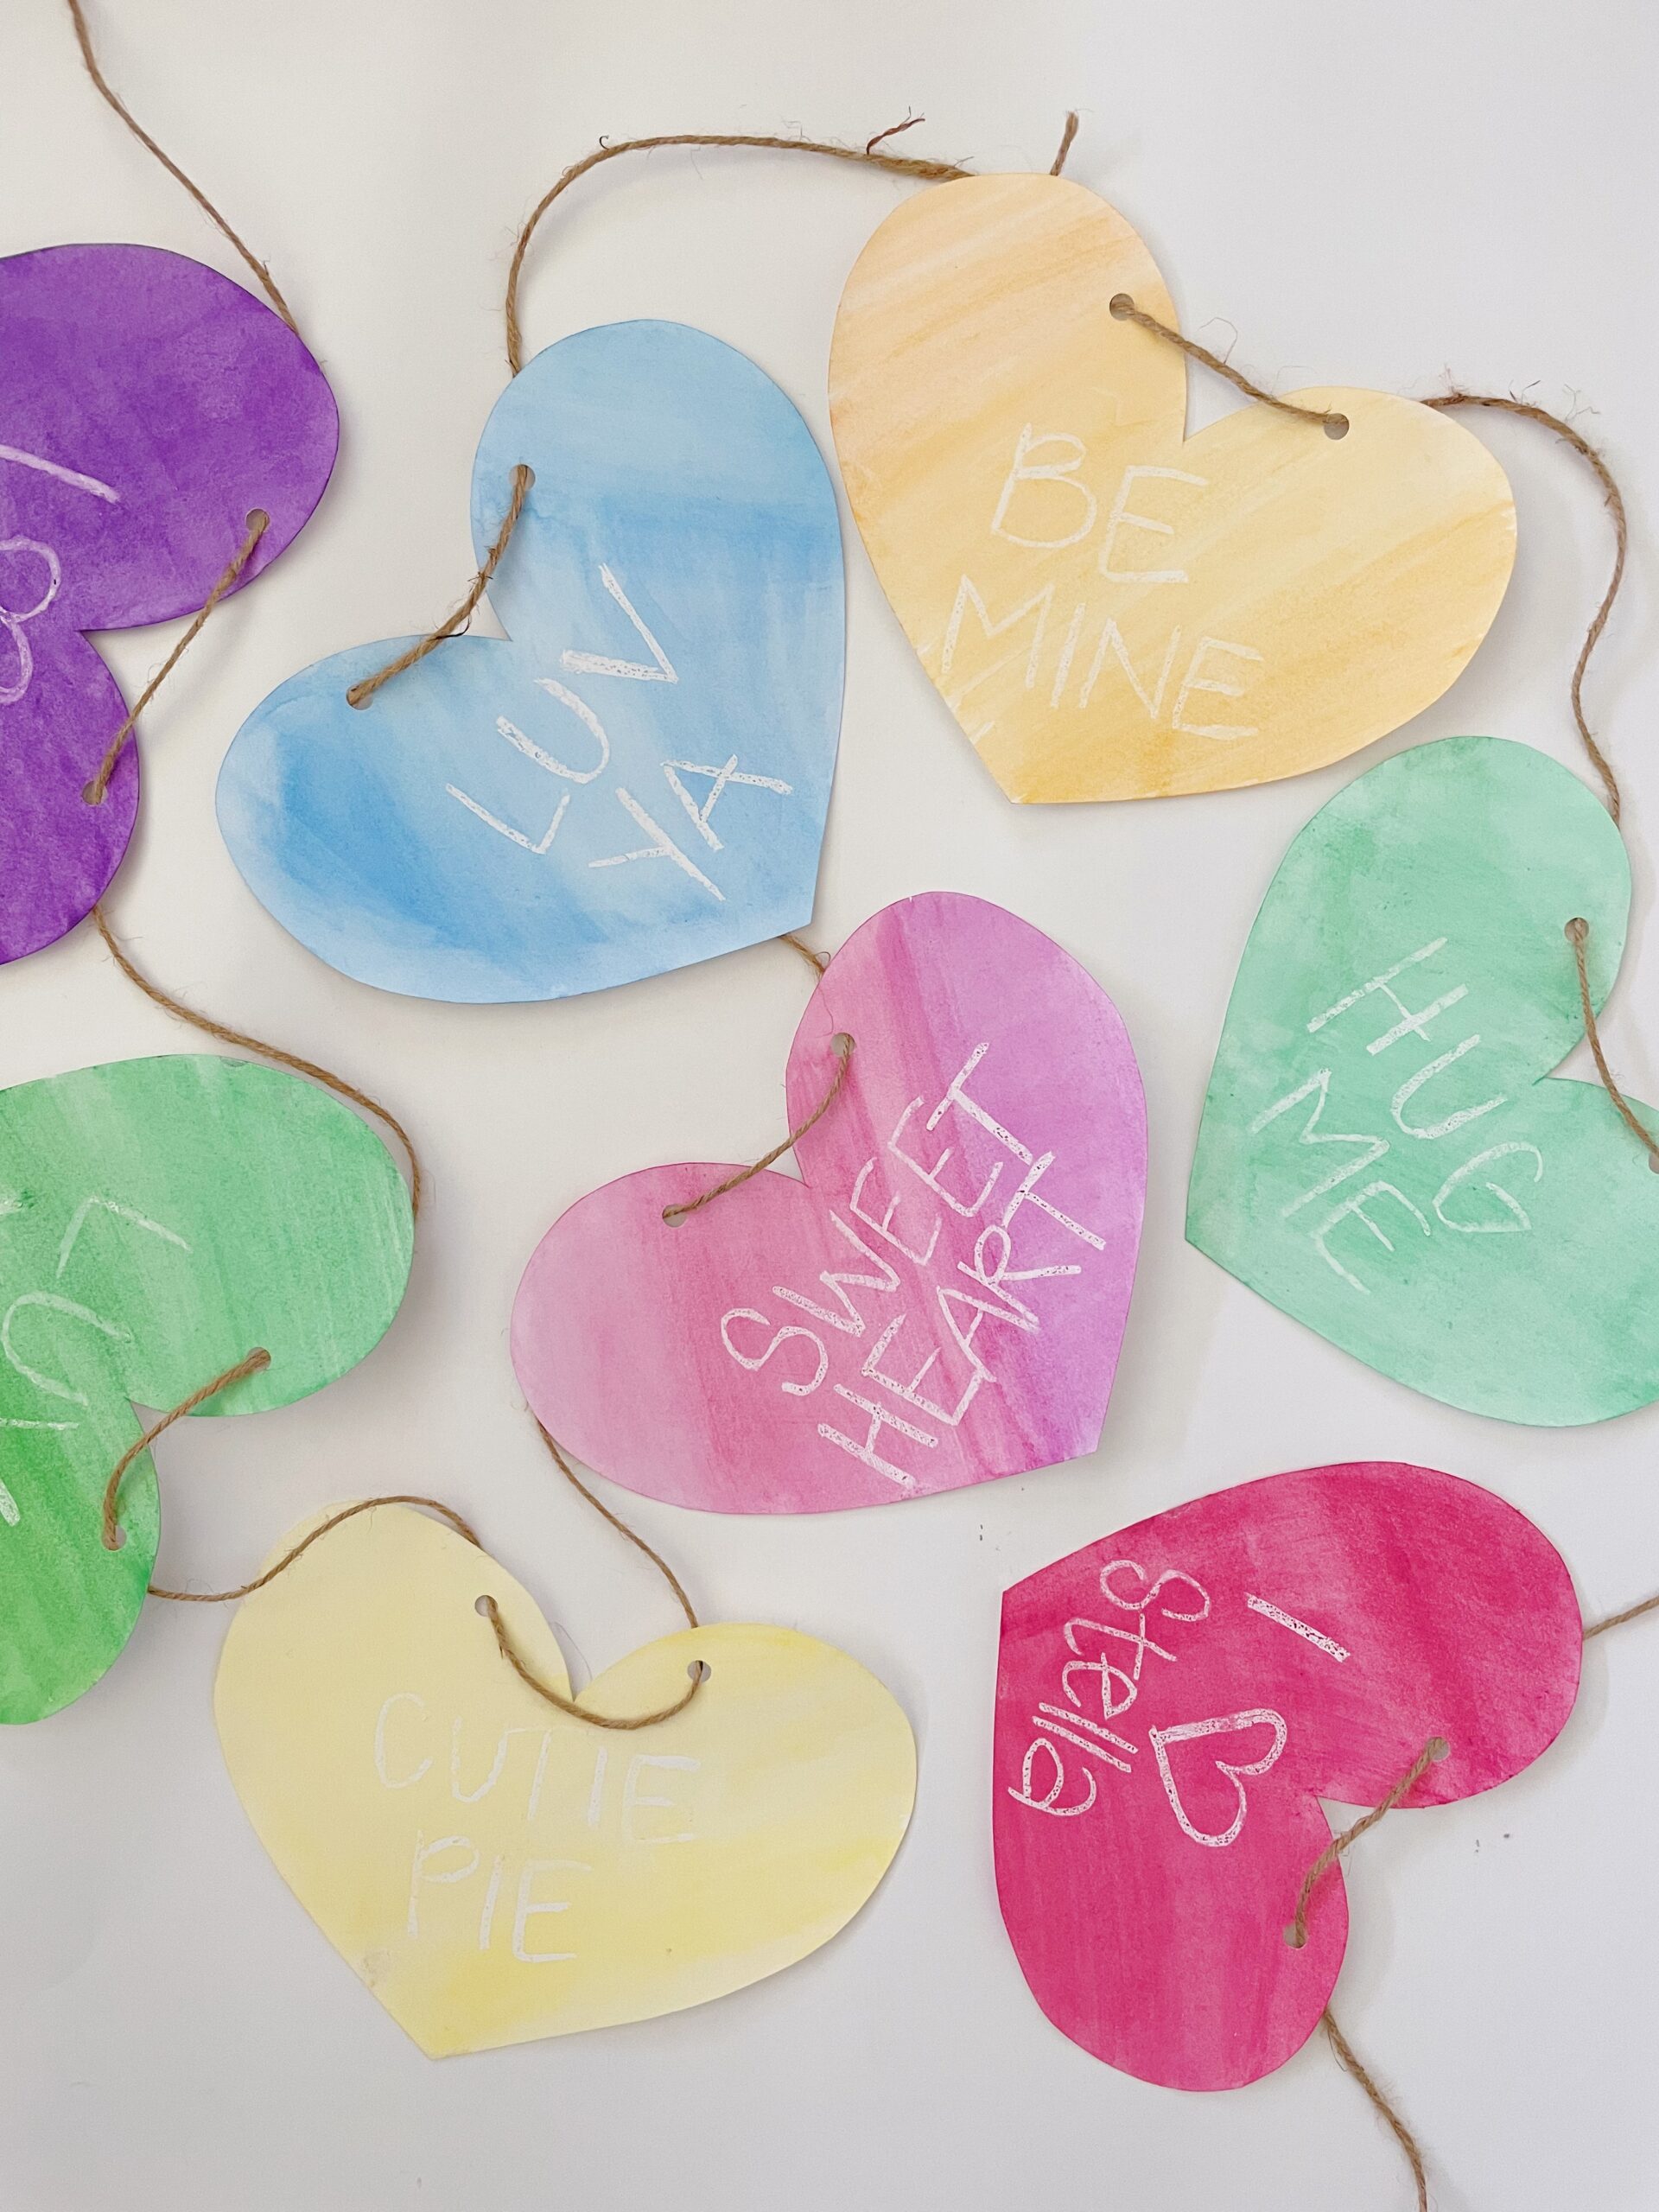
This activity is a fun craft for both children AND adults. I really enjoyed making this Valentine’s Day garland to hang in our breakfast nook, which is the space I use to decorate for different holidays.
Before kids, I didn’t get too crazy with decorating for any holidays. I put up some stuff at Christmas, but that was about it. After kids, though, decorating became way more fun. My youngest daughter gets excited for EVERYTHING. Her reaction when she walks in and see’s new stuff out for an upcoming holiday is priceless.
Well, that certain daughter requested that we decorate for Valentine’s Day, which is how this craft started. We enjoyed making our Easter egg garland so much, that we decided to use the same color resist method to make some conversation hearts to turn into a garland!
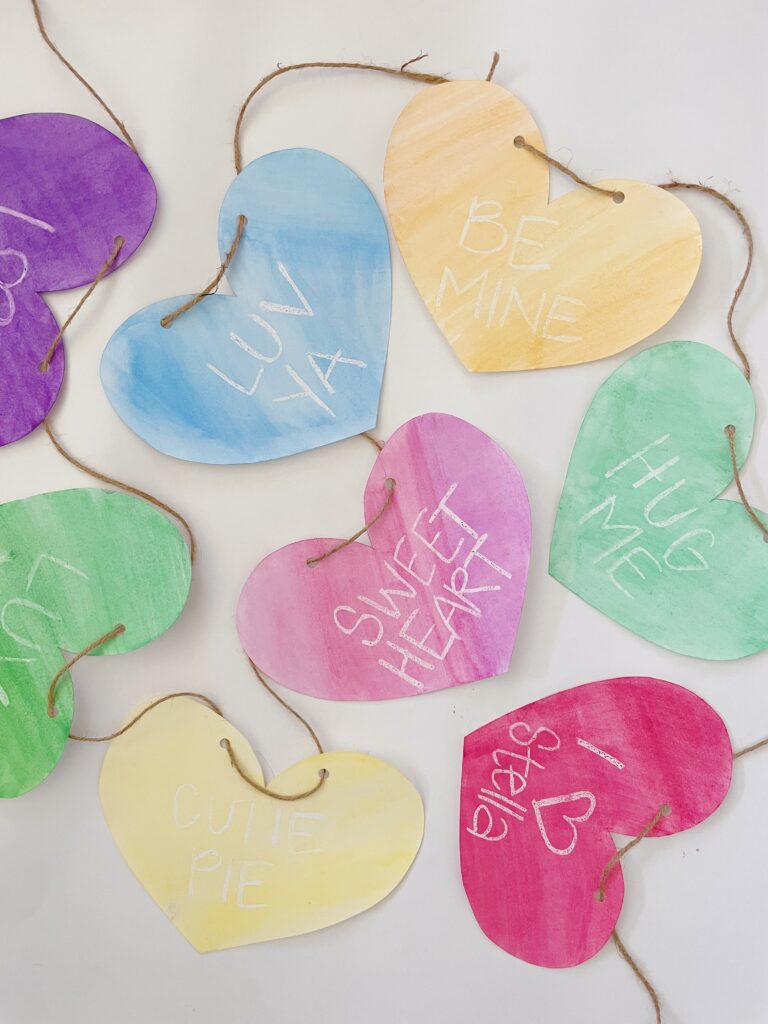
Here’s what you need to make your own Valentine’s Day Garland:
SUPPLIES
- White cardstock (4 sheets)
- Pencil
- Scissors
- White crayon
- Watercolor paint
- Paintbrush
- Hole punch
- String
VIDEO INSTRUCTIONS
STEP-BY-STEP INSTRUCTIONS
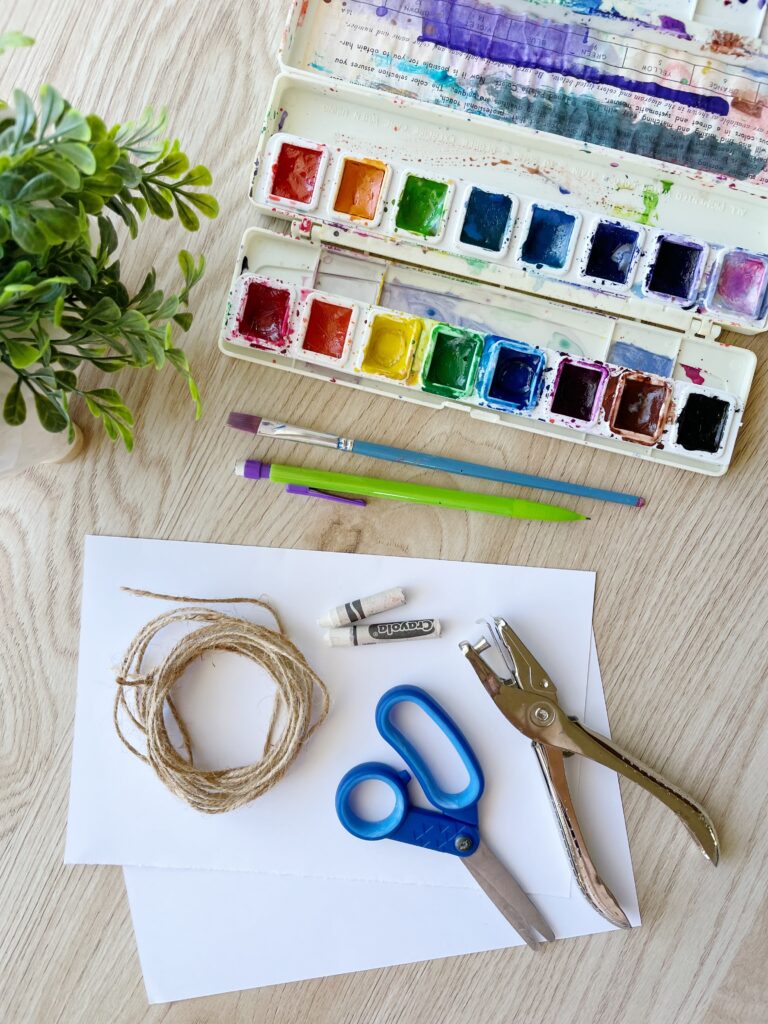
First, gather your supplies. You’ll need about four pieces of white cardstock, a pencil, scissors, a white crayon, watercolor paint, a paintbrush, string and a hole punch.
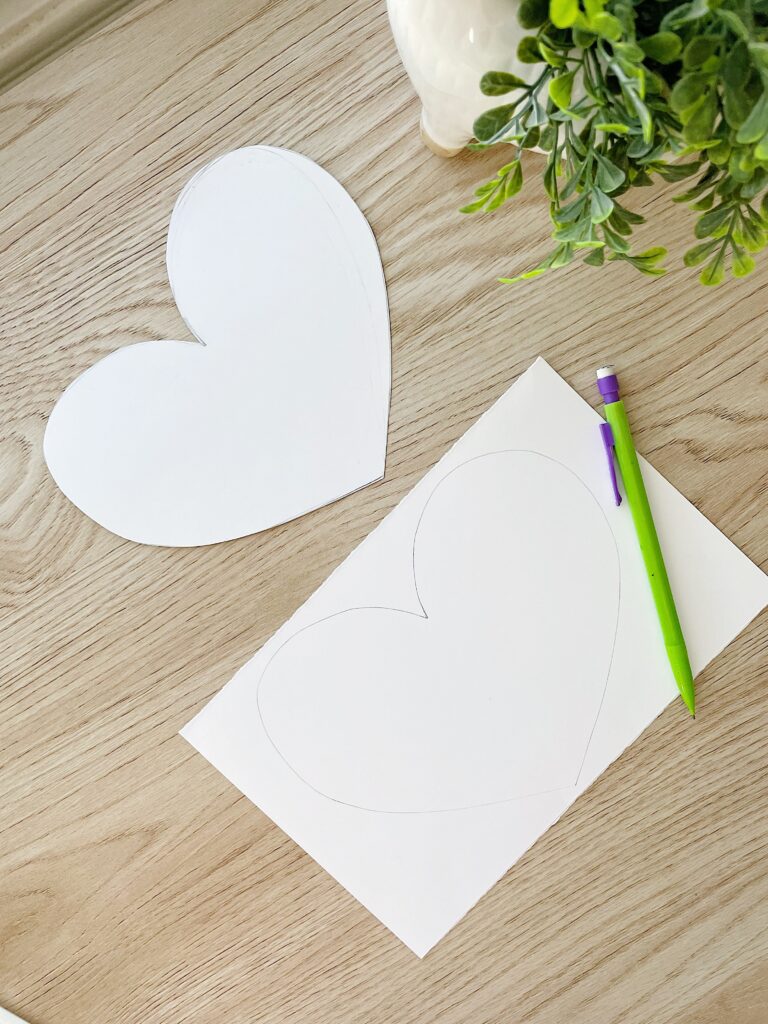
Fold a piece of cardstock in half and draw a heart on it. Notice that I made my heart large enough to fill up most of the space. You can make your heart whatever size you want, but keep in mind that the smaller the heart, the less space there will be to write a message or design on it.
Next, cut out the heart, which should make two since you folded the cardstock in half. Repeat this step until you have as many hearts as you need. (I used 8 for my garland.)
*Tip: once you cut out the first set of hearts, use one of those to trace the rest.
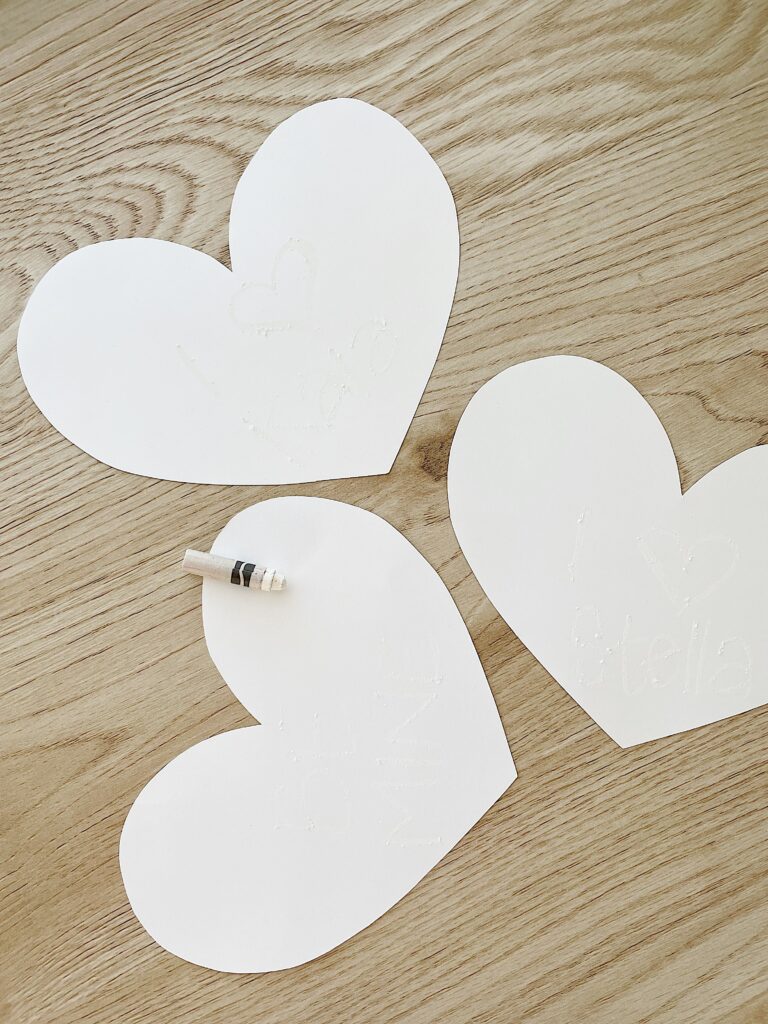
Once all your hearts are cut out, it’s time to get creative and write fun messages on them with the white crayon. I chose to write messages similar to conversation hearts, but you can write anything you want. My oldest wrote her own messages, and my youngest had fun drawing random pictures and designs.
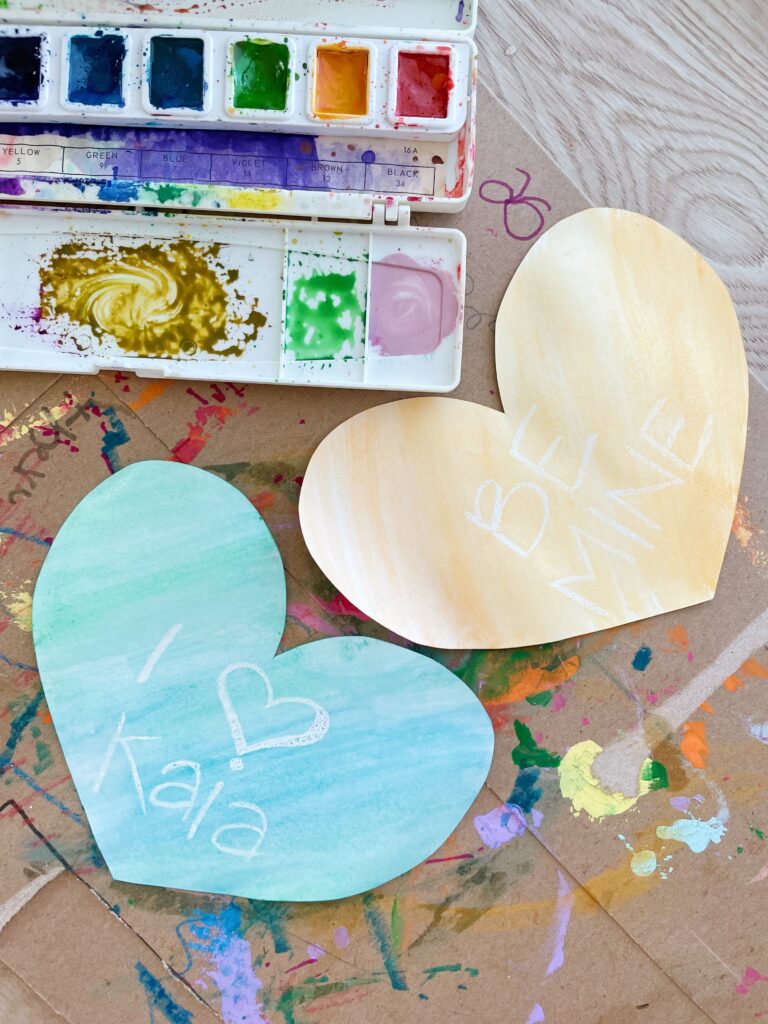
And now, for the fun part! The “magical” part, according to my girls lol.
First, make sure you lay something down to protect the surface you’re working on. Then, using watercolor paint, paint over your designs and watch them appear! This is so fun to do with kids. My daughter’s love when we do these color resist activities.
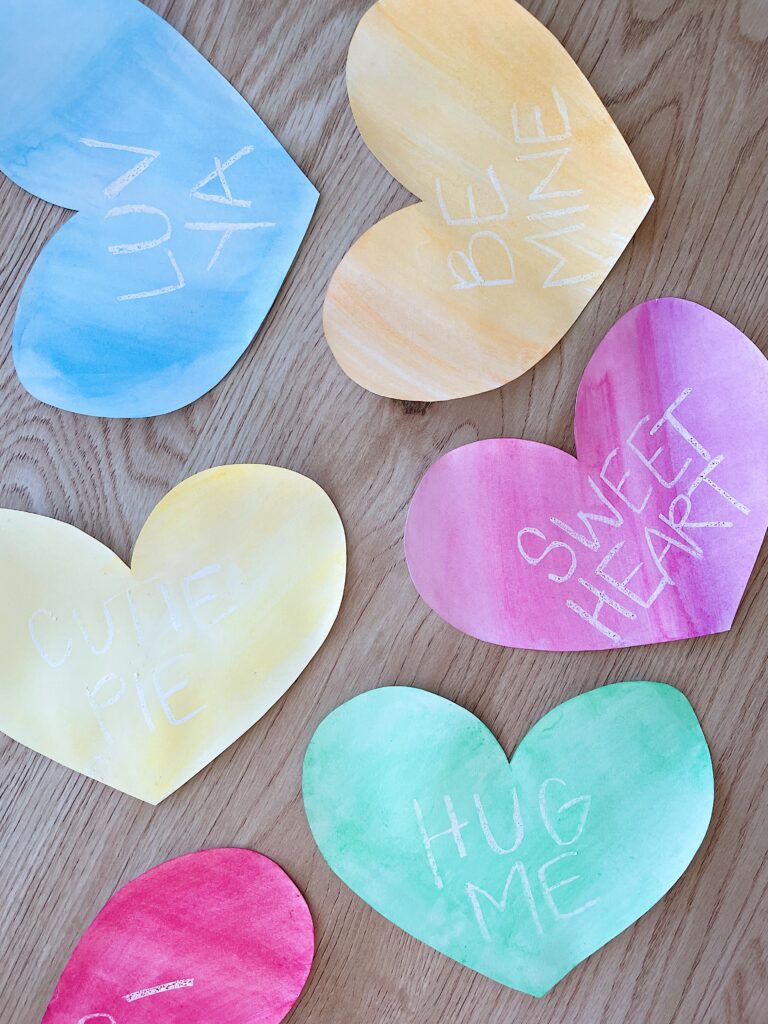
Let them dry. (If you have trouble with them rolling up, let them dry and then just stack them and place a heavy book on top, to let them flatten out.)
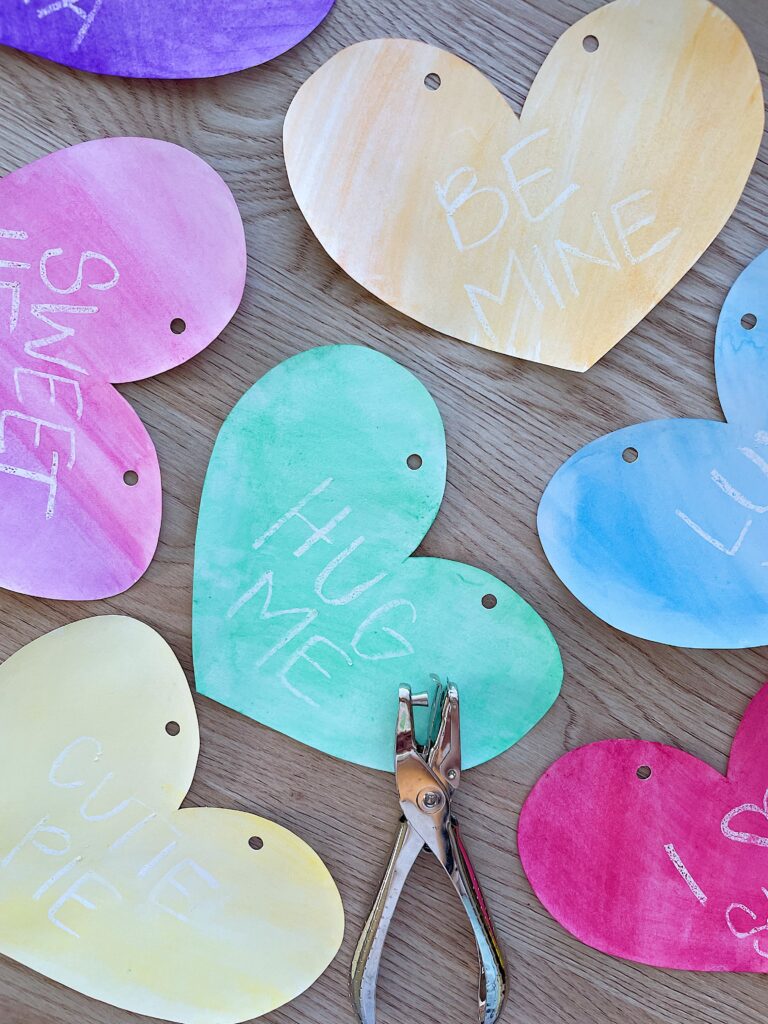
Punch two holes on the top of each heart.
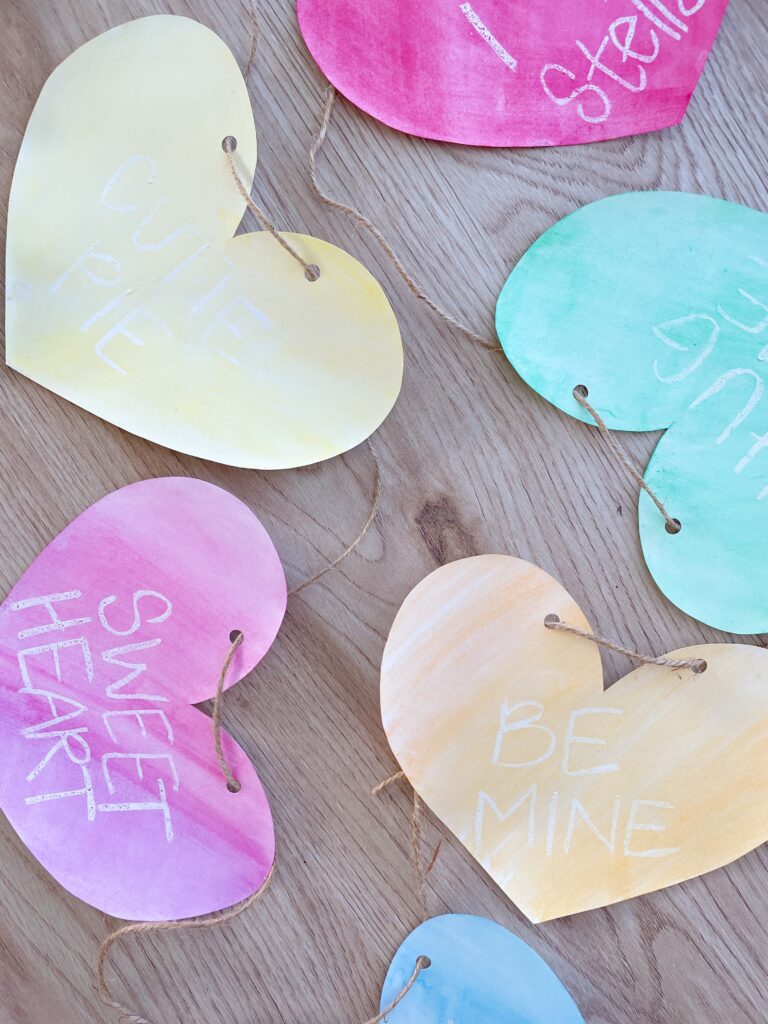
Thread a long string through the holes and you’re done!
If you guys make this, I would love to see it! Post it on Instagram and tag me, so I can share your amazing work!
<3 Meghan | Electric Mommy
