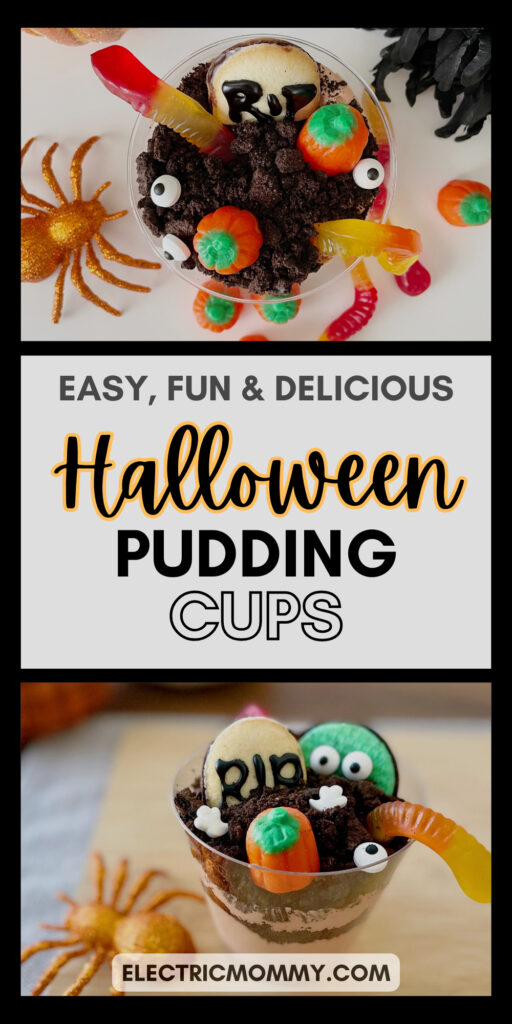
Can you feel Halloween creeping around the corner? The spooky season of ghosts and goblins is the perfect time to get creative in the kitchen and whip up some spine-tingling treats. If you’re looking for a dessert that’s delicious, fun and incredibly easy, look no further than our recipe for Halloween Pudding Cups.
These wickedly good delights are not only a feast for the taste buds, but also a feast for the eyes, making them the ultimate centerpiece for your Halloween gathering. They’re also fun to make as a family activity.
I love these Halloween pudding cups so much. The pudding and Oreo combination are sooooo good. Plus, I have good memories of making them with my mom when I was little. We typically just made them with pudding, Oreo’s and worms. However, you can get really creative with these for Halloween, and other holidays.
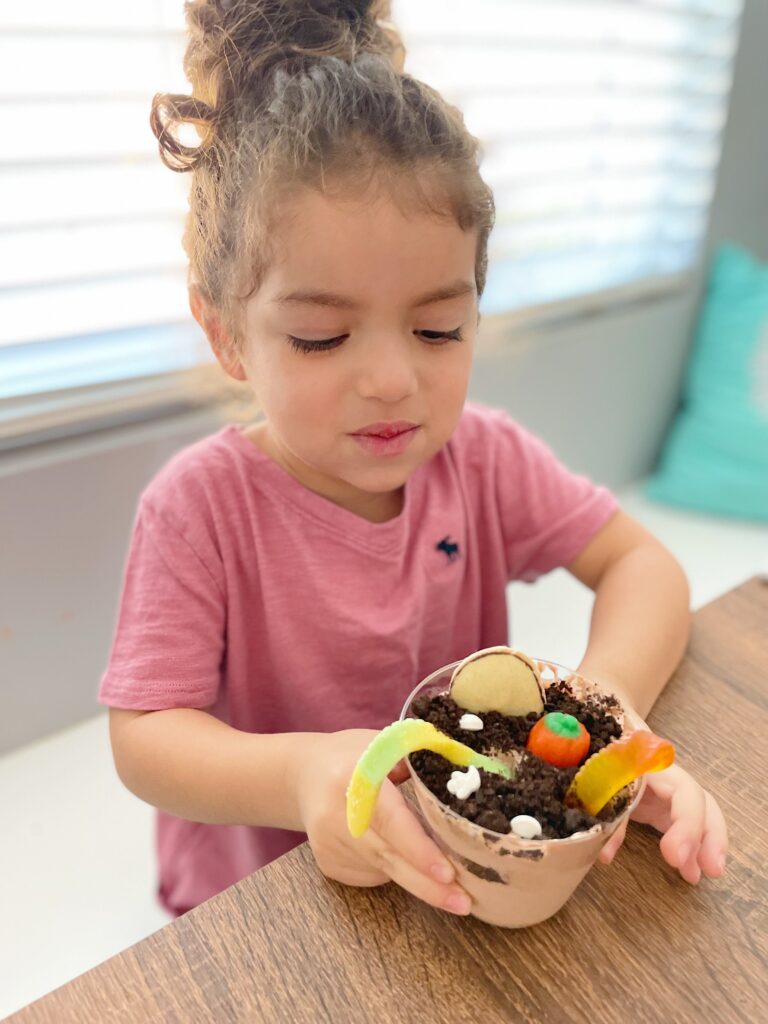
My daughter’s and I made a few cups, refrigerated the leftover pudding and then made these two more times over the next couple of days. They loved getting to decorate and eat their mini “graveyards” and I didn’t mind doing this at all, because they’re that easy. There’s almost no cleanup after you’ve already made your pudding and crushed the Oreo’s.
What You Need
For the Pudding:
- Instant Chocolate Pudding Mix
- Milk
- Cool Whip
Topping Ideas:
- Crushed Oreo’s
- Edible eyeballs
- Gummy worms
- Candy pumpkins
- Milano cookies, to make a tombstone
- Red icing gel, for a bloody effect
- Sprinkles
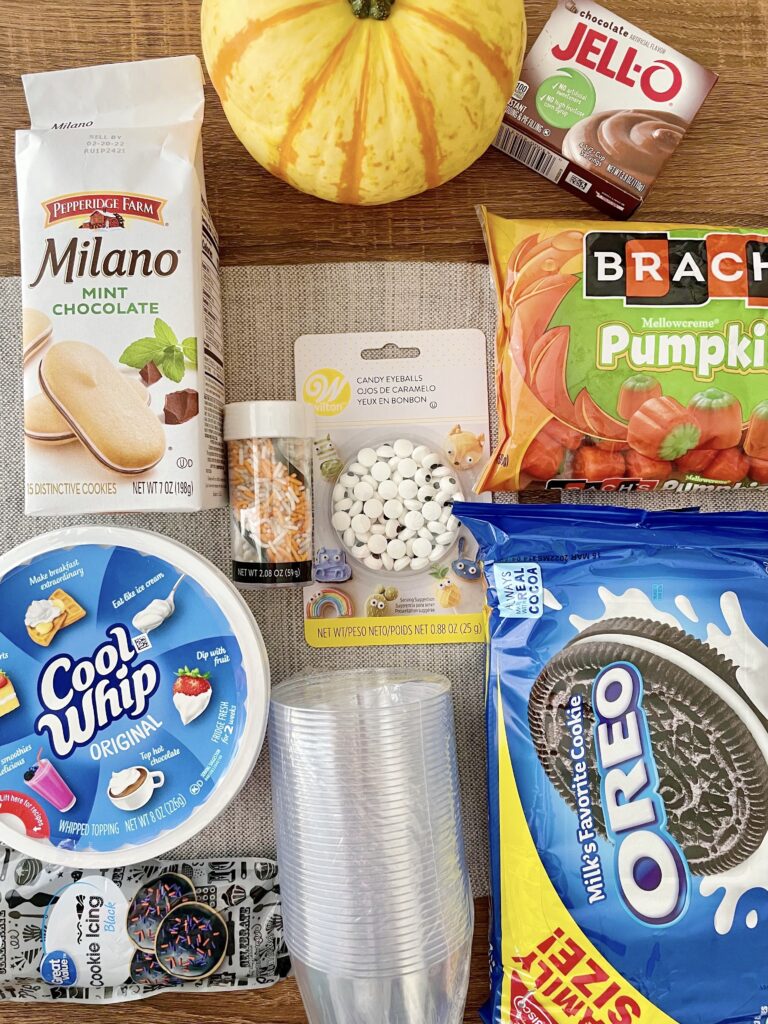
The toppings are where you can get really creative. I took a trip to Walmart and got everything pictured above. They had edible eyeballs, fun Halloween sprinkles with mini ghosts, pumpkin candy, Milano cookies to make the tombstones and, of course, the worms.
You could add so many different things to your cups. I thought some edible blood, or red gel frosting, would be a cool effect on these for older kids.
I recommend just taking a trip to your local Walmart, grocery store, or even Michael’s, to see what fun, edible Halloween treats they have. Make sure to check the baking aisle, where the cake and cupcake stuff is. Also, be sure to check any endcaps or aisle displays. (They had a big display at our local Walmart that was all Halloween baking stuff.)
Putting It Together
To start, make the pudding using the recipe below. Let it refrigerate for about an hour. (You can also make the pudding a day ahead, so it’s ready to go.)
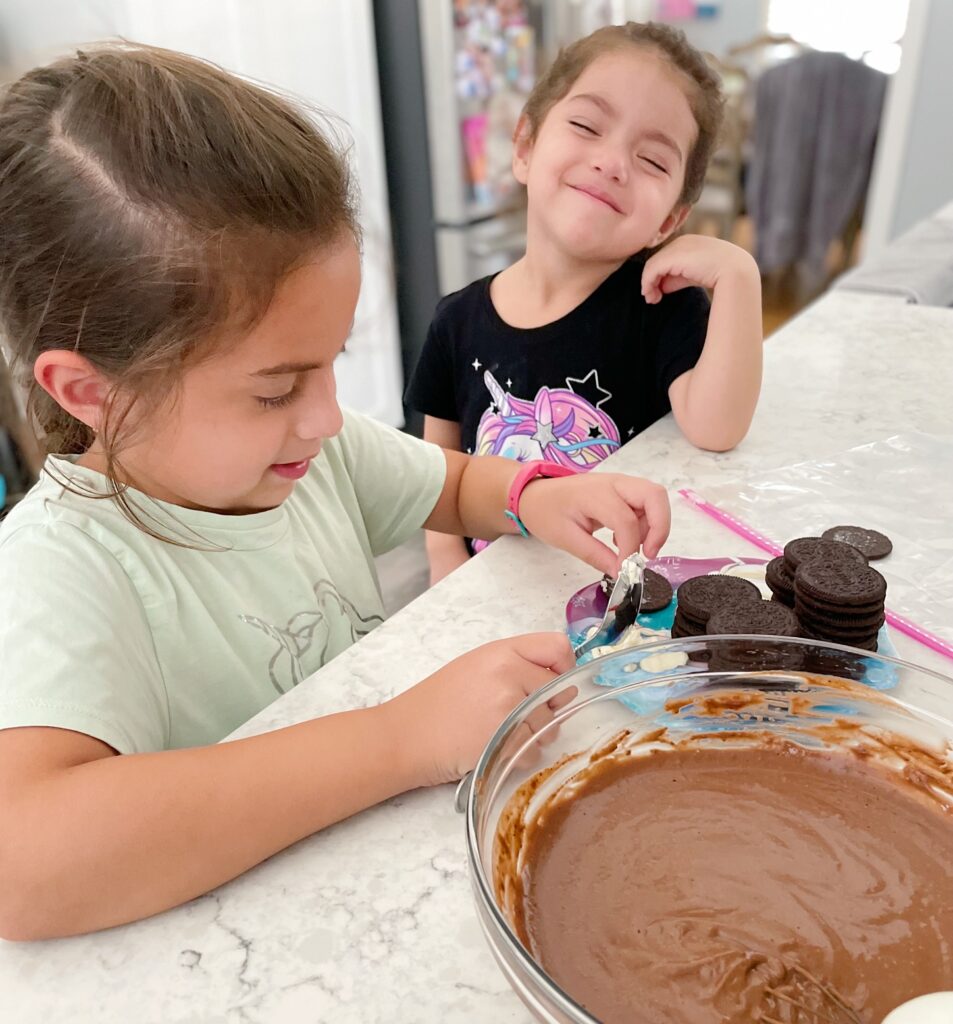
While that’s in the fridge, you can crush the Oreo’s. First, scoop out the filling on the inside of about twenty cookies. Place the remaining chocolate cookie pieces in a large sealable bag and crush away! My daughter’s had fun with this part.
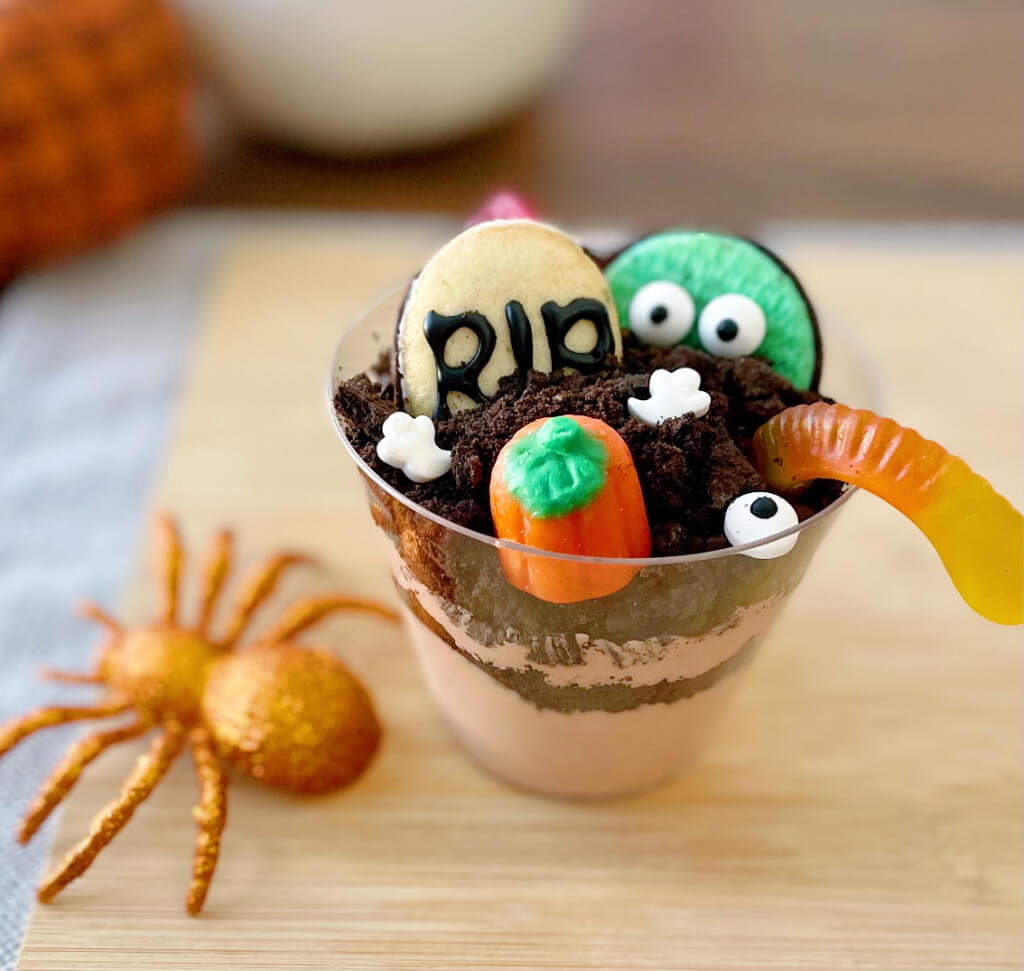
Once the pudding has chilled, take it out and scoop some into a clear cup about a third of the way full. Next, add a layer of crushed Oreo’s and then, repeat this step one more time.
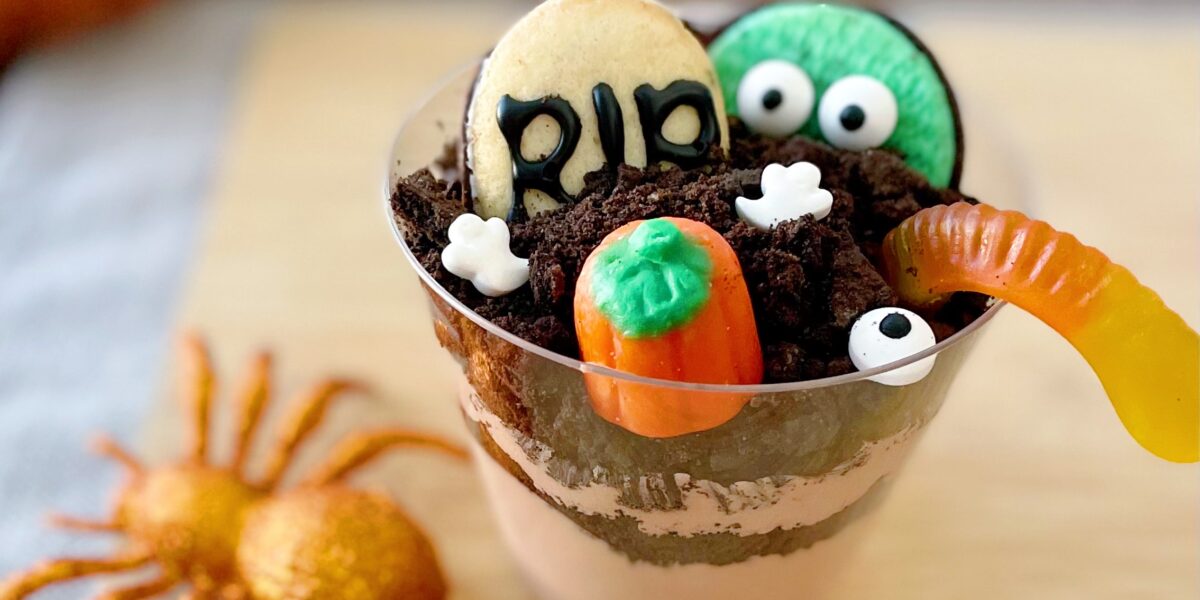
Now, the fun part – decorating! Add the toppings any way you like and have fun with it! We made tombstones out of Milano cookies and black cookie icing to write “RIP”. We also made monsters out of Oreo’s and edible eyeballs.
I hope you enjoy making these with your family and they become a Halloween tradition, just like they are in our house.
With love,
Meghan | Electric Mommy
Halloween Dirt Pudding Cups
A delicious combination of chocolate pudding and Oreo's, all with fun toppings to make your very own little graveyard!
Ingredients
- 3.9 oz package instant chocolate pudding mix
- 8 oz Cool Whip topping
- 2 cups milk
- 20 Oreo's (crushed with filling removed)
Instructions
-
Combine the milk and pudding mix in a medium size bowl and whisk together.
-
Let it stand for about five minutes and then gently stir in the Cool Whip.
-
Cover and refrigerate for one hour.
-
Once the pudding has chilled, take it out and scoop some into a clear cup about a third of the way full. Next, add a layer of crushed Oreo's and then, repeat this step one more time.
-
Decorate any way you like, and enjoy!
For a dairy free version, check out this recipe here.
If you make these, let me know how it went! Leave me a comment below, or take a picture and tag me on Instagram, so I can reshare your work. 🙂
And for another fun Halloween activity, be sure to check out this Jack Skellington Toilet Paper Craft! Where are all my other Jack and Sally fans at?